Wednesday, March 16, 2016

Disable Driver Signature Enforcement in Windows 7/8/10 64-Bit


Hei MIUI-ers,

This is an handy write-up especially installing "Unsigned Drivers" as Microsoft enforces a “Digital Signature Requirement” on all users of 64 bit version of Windows 7 and later. This comes handy when you needed it most after all the frustration dealing with it and run it flawlessly and away with your task.


Disabling method for Windows 7 64-bit:
Permanent method:
  • Go to Start Menu and go to "All Programs", then "Accessories", right click your mouse on "Command Prompt" and "Run as administrator", as shown below:-

bcdedit.exe -set loadoptions ENABLE_INTEGRITY_CHECKS
bcdedit.exe -set TESTSIGNING ON
  • Type the above codes and press "Enter" after each command, as shown below:-
  • Reboot your PC/Laptop
  • Now Signing Enforcement is disable, in Test Mode as shown in the above imagery on the lower right-hand corner


  • To "Enable Driver Signature Enforcement" enter the following code:-
bcdedit.exe -set TESTSIGNING OFF

Temporary method:
  • During booting your PC/Laptop, press "F8" key continously to access the "Advanced Boot Options"
  • Use the "Down" arrow key to scroll down to “Disable Driver Signature Enforcement”
  • Press "Enter" to choose
  • It will automatically reboot disabling the enforcement accordingly, as shown below:-


Disabling method for Windows 8.1 & 10 64-bit:Permanent method:
  • Press the Windows key + X and then click “Command Prompt (Admin)”, as shown below:-

bcdedit.exe -set loadoptions ENABLE_INTEGRITY_CHECKS
bcdedit.exe -set TESTSIGNING ON
  • Type the above codes and press "Enter" after each command, as shown below:-
  • Reboot your PC/Laptop
  • Now Signing Enforcement is disable.


  • To "Enable Driver Signature Enforcement" enter the following code:-
bcdedit.exe -set TESTSIGNING OFF

Temporary method:
  • Simply find the Shutdown/Restart menu and hold down the SHIFT key while clicking on Restart.
  • Once your PC/Laptop has rebooted you will need to choose the "Troubleshoot" option, as shown below:-


  • Choose Advanced options, as shown below:-

  • Choose Startup Settings, as shown below:-


  • Click the Restart button on the Startup Settings screen to reboot your PC/Laptop, as shown below:-


  • After restarting in Startup Settings windows, press the F7 key on your keyboard to select “Disable driver signature enforcement“ as shown below:-


  • Now your PC/Laptop will reboot. Now you can go ahead install the necessary Unsigned Drivers and "Install this driver software anyway" as shown below:-


  • Enjoy!

"Solving with simplicity"

Upgrade/Unbrick using MiPhone Tool for Redmi Note 3 (MTK)


Hei MIUI-ers

Thinking of upgrading to the new Stock ROM or Unbricked your device? Instead, of using very tricky method like SP Flashing. Well, the choice is yours. If your prefer, SP Flash Tool, you can read about it at Hands-on flashing Stock ROM using SP Flash Tool on Redmi Note 3. MiPhone sometimes referred to as Mi Flash, an upgrade tool, is quite a breeze to do a flashing on your ROM for your Redmi Note 3. It is quite helpful in restoring a bootloop or softbrick in a many cases.

Environment:
  • Redmi Note 3 MTK Helio X10
  • Unlocked Bootloader
  • Able to access Bootloader Mode

Essentials:
  • USB DATA cable (the one that came with your device)
  • USB Port on your PC/Laptop
  • Enable USB Debugging - Goto Settings > Additional settings > Developer options > USB Debugging - Enable (If you have not activated Developer options, then Goto Settings > About phone > tap MIUI version 7 times > You are now a developer)

Requirements:

Installing Mi Phone:
"Run as administrator" to install the MiPhone/MiFlash tool and accept "Install this driver software anyway" as shown below:-


Extracting the Stock ROM:
Extract “hennessy_images_V7.2.3.0.LHNCNDA_20160129.0000.14_5.0_cn_d55a2c6992.tgz" preferably to a convenient location eg. C\:, as shown below:-


Reboot to Bootloader:
Turn off your device. Press the Volume (–) down key and the Power button simultaneously to enter Fastboot mode. Connect your device to the PC/Laptop via a micro USB cable, and the Fastboot MIUI mascot will appear,as shown below:-


Using Mi Flash tool:
Copy & paste the target address onto the address bar and press "Enter", as shown below:-
C:\Program Files (x86)\Xiaomi\MiPhone

Then double click MiFlash.exe to launch the tool.


Click "Refresh" button, and it will detect your device accordingly. Choose and click > Flash all, it will format the entire phone, including data and files in it (clean install) as shown below:-


Click Browse > Locate the Redmi Note 3 ROM Fastboot file which had been extracted earlier (hennessy_images_V7.2.3.0.LHNCNDA_20160129.0000.14_5.0_cn) > select images > OK, as shown below:-


Click Flash, the flashing process will take place, immediately. Wait until the process is complete. You can see the progress bar turning green when the flash process is completed, as shown below:-


After the flash process is completed your Redmi Note 3 will automatically restart itself and disconnect the USB cable.

All the best! No pain no gain.


NOTE: Should this method be unsuccessful, or perhaps if your Redmi Note 3 is in status quo, there are still other method to overcome the bootloop ie. with the help of SP Flash Tool at Hands-on flashing Stock ROM using SP Flash Tool on Redmi Note 3.

Rooting & Nandroid backup method:
ROOT, TWRP 3.0.0, SuperSU & GApps for Redmi Note 3 [UNLOCKED]
NANDROID BACKUP for Redmi Note 3 [ROOTED]


DISCLAIMER: DO ON YOUR OWN RISK. Flashing can potentially bricked or bootloop your device.

"Solving with simplicity"

Sunday, March 6, 2016

Diagnostic tool - Trepn Profiler


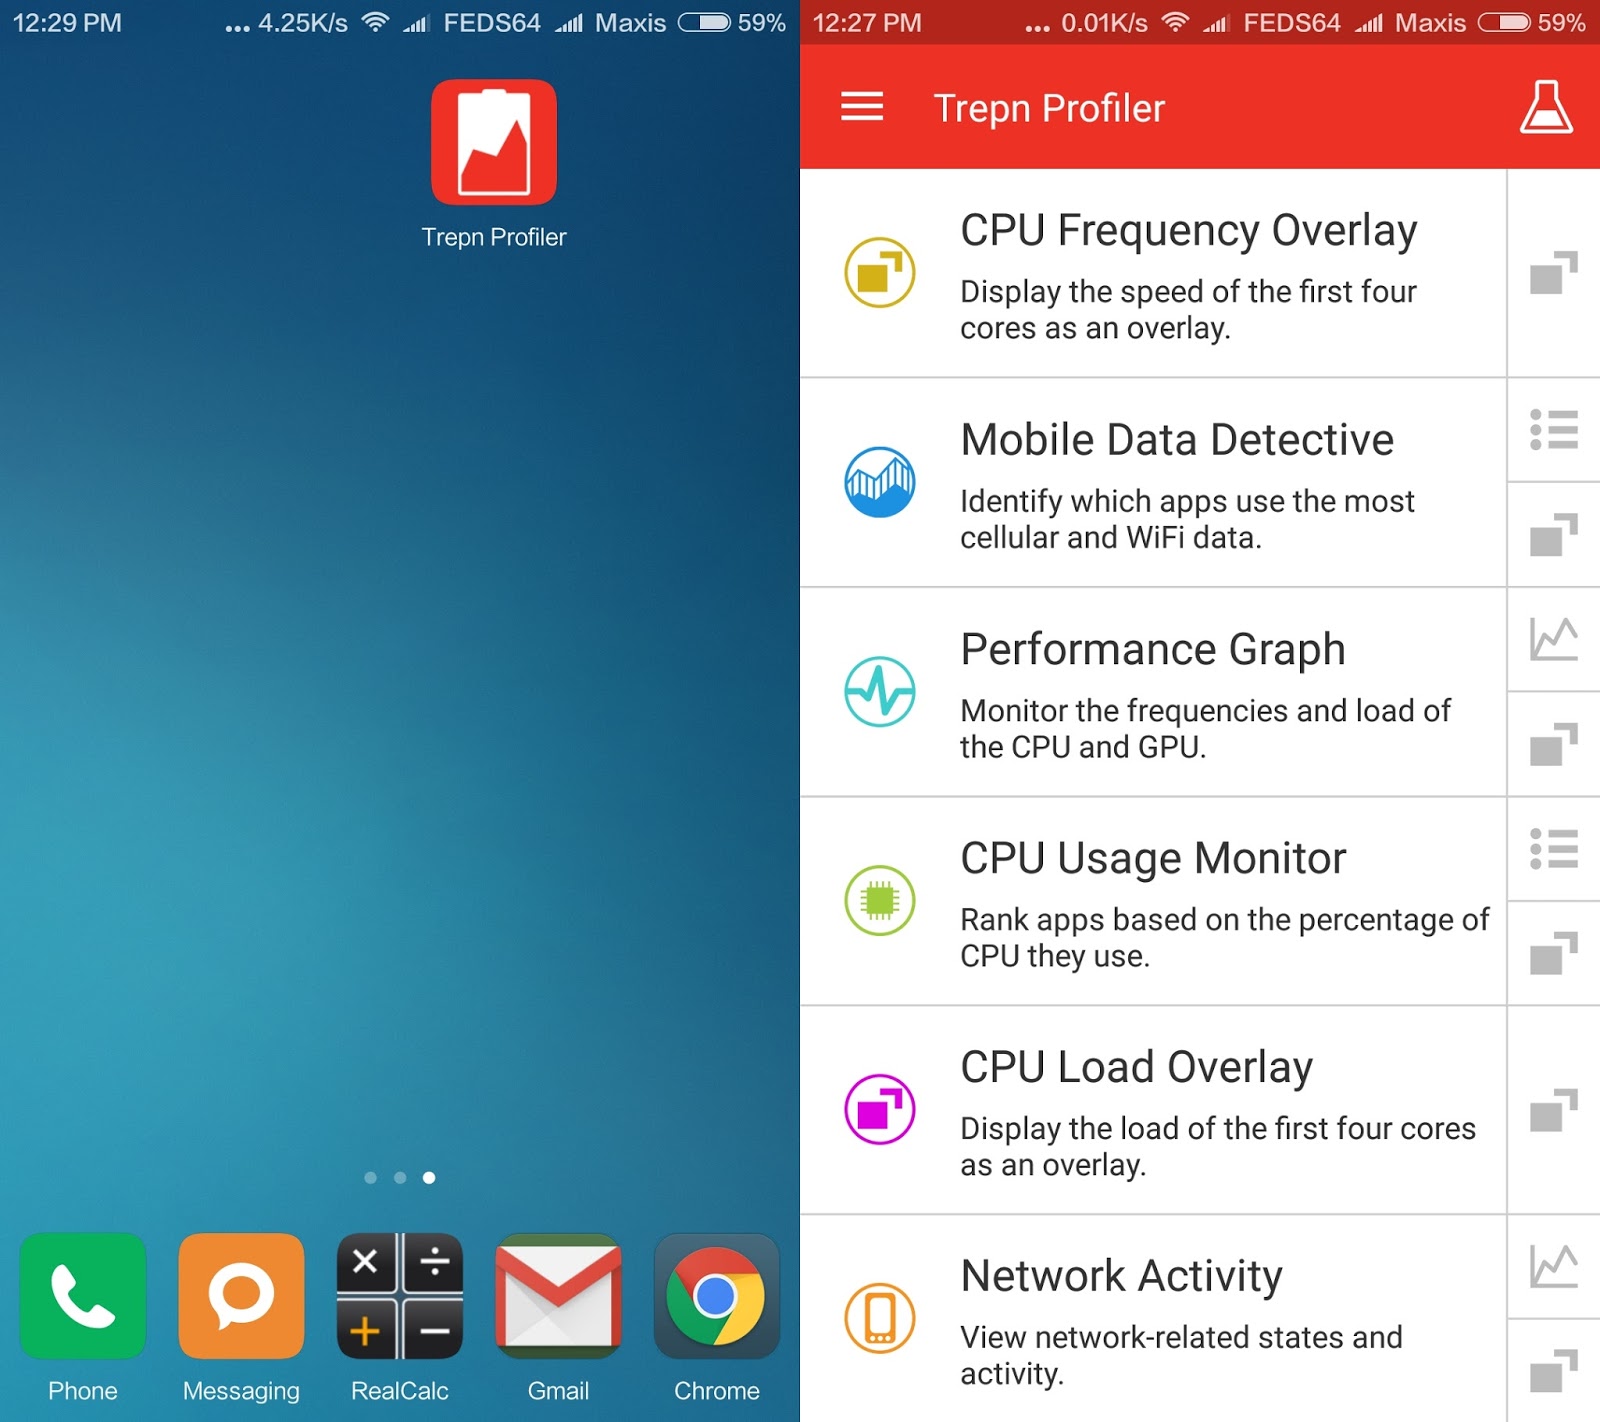
The Trepn Profiler is a diagnostic tool designed to measure and profile the power consumption of Android applications on mobile devices.The Trepn Profiler lets you track power, CPU, memory, and network usage to better understand and optimize application power performance. 

It is designed to help you identify apps that hog your CPU, consume excess data or drain your battery. Although Trepn Profiler runs on most Android devices, additional features are available when used with devices featuring Qualcomm® Snapdragon™ processors, a product of Qualcomm Technologies,Inc.

Just click on the Trepn Profiler Icon to download the apk file directly to your device.


Key Features
  • Six fast-loading profiling presets
  • Runs on devices with Snapdragon, Exynos, MediaTek and other processors
  • Real-time view of individual CPU cores
  • View network usage (cellular and Wi-Fi)
  • Overlays appear on top of applications being profiled
  • Monitor GPU frequency and load
  • Advanced mode to manually select data points and save data for later analysis
  • No ads, analytics or data collection
  • Displays device power consumption in mW

Advanced Mode Features
  • Profile your device or a single app
  • Choose from up to 33 different data points
  • Offline data analysis – Save profiling data so you can analyze it at a later time
  • Displays absolute or delta battery power measurements in mW or mA
  • View processor and battery temperature
  • View profiling data four different ways
  • Display two data points in a single overlay
  • Save settings, data points and overlays for quick access
  • Change the data collection interval to reduce load and allow longer profiling sessions

Special Features for Developers
  • Android Intents - Trepn Profiler can display markers from your code alongside other data points to pinpoint the cause of power and processor spikes
  • External control - You can start or stop profiling from an external script or another Android application, a big advantage in automated testing environments


Helpful Links

SOURCE:

Tuesday, February 23, 2016

WinDroid Toolkit v3.0 - [APPLY][UNLOCK][ROOT][FLASH]

Perfect All-in-one Toolkit for Novice


WinDroid Toolkit v3.0 is a perfect All-in-one toolkit for a novice. As from the WinDroid Changelog it has a new face-lift from the previous version v2.6 and many very useful features that I felt a newbies or a new owner of a Redmi Note 3 or the other Bootloader locked models has to try out. It is very simple Toolkit to utilize without the worries of drivers, custom recoveries images or Switch User access images. It simply all there, and for the advanced user you could sideload and do many more and download the on-demand specific drivers and files for your device.


Highlights:
  • Support for Redmi Note 3
  • Install specific USB drivers
  • Application for Unlocking bootloader
  • Facilitate Unlocking bootloader
  • Flash TWRP 3.0.0 recovery
  • Download SuperSU 2.65

Essentials:

  • USB DATA cable (the one that came with your device)
  • USB Port on your PC/Laptop
  • Enable USB Debugging - Goto Settings > Additional settings > Developer options > USB Debugging - Enable (If you have not activated Developer options, then Goto Settings > About phone > tap MIUIversion 7 times > You are now a developer)

Requirements:

Download WinDroid Toolkit v3.0 and Create a folder "WinDroid Toolkit v3.0".

Using WinDroid Toolkit v3.0:
Plug your device in an ON-STATE via USB cable to your PC/Laptop. Then run the WinDroid Toolkit v3.0.exe. It will downlaod the necessry drivers and install accordingly. Next you will have to choose the your device from the scrolling menu. Choose Xiaomi/Redmi Note 3. It will then automatically download the TWRP recovery image and SuperSu zipped file for you to complete the rooting process. Its a 1-2-3 process, as shown below:-


At this stage you could see that the LED is RED, you just need to hit the Refresh button and it will then turn Green or Online accordingly, follow the Step One to Unlock Bootloader, as shown below:-


The first sub-menu is Request Unlocking permission and it will bring you to the Request Unlock page, as shown below:-


Then followed by Unlocking Bootloader and follow thru accordingly, as in the imagery:-


For Step Two, it is time to flash TWRP 3.0.0 recovery, as shown below:-


The last Step is to complete the Rooting process, which you need to install SuperSU v2.65 manually using TWRP 3.0.0 recovery, as shown below:-


DISCLAIMER: DO ON YOUR OWN RISK. Flashing can potentially bricked or bootloop your device.

"Solving with simplicity"